Want your home to shine this holiday season? Hanging Christmas lights outside can be a hassle if you don’t know what you’re doing! Luckily, here at Legacy Roofing of Idaho, our holiday outdoor light hanging tips will help you with the entire process.
From planning your display, choosing the best lights, gathering essential tools, ensuring safety, and decorating every part of your home efficiently, just like your roof, we got you covered! Read more below about hanging Christmas lights!
Planning Your Outdoor Lighting Display
Before hanging Christmas lights, it’s beneficial to plan thoroughly. Start by inspecting your home’s exterior from a distance to visualize the overall design and identify key decoration areas. From the exterior remodeler’s perspective, you want to ensure your gutters, fascia boards, and roof are all in proper working order and without issues.
Once you ensure your home is sound on the outside, you can plan your light display for the holidays. Start by taking a photo of your house from the street, which allows you to effectively map out light placements. This step can save time and effort. After obtaining a clear visual, measure key areas and sketch your design so you can plan for enough light strands!
1. Take a Photo of Your House
Begin with a photo of your house from the street to gain a comprehensive view of its features. This will make it easier to plan light placements. Use the image to sketch your design ideas and measure the areas for hanging lights. Imagining your house with lights can prevent design mishaps and ensure a balanced look.
2. Measure Key Areas
Accurate measurements are essential for a successful light display. Measure rooflines, windows, and other features to determine the necessary lengths of light strands. This ensures you have the right quantity and aids in accurate installation. Proper measurements help avoid mistakes and simplify the hanging process.
3. Sketch Your Design
Sketching a rough plan of your light display helps organize decorating ideas and locations, ensuring a balanced layout. A sketch in hand allows for effective planning of light and decoration placements, ensuring a cohesive look and guiding the installation process.
Choosing the Right Xmas Lights
Choosing the right Xmas lights for your home is vital for your vision. With so many types of lights available, from string lights to pathway lights or even solar-powered lights, each offers a unique aesthetic. For most Boise and Treasure Valley residents, your choice of Christmas lights depends on your desired look and the areas you will decorate.
Here are the most popular types of outdoor Christmas lights!
Incandescent vs. LED Bulbs
LED lights are an excellent choice for energy efficiency and safety. They produce less heat and use 75% less energy than incandescent bulbs while also offering the best lights and a longer lifespan. However, incandescent bulbs emit a warm glow that some prefer for a traditional holiday feel.
C7 and C9 Bulbs
C7 and C9 bulbs are excellent for highlighting roof features. C9 bulbs, being larger and brighter, are ideal for rooflines and eaves, enhancing visibility and adding a classic holiday touch.
Specialty Lights
Specialty lights like icicles and pathway lights add variety and enhance the festive spirit. Icicle lights mimic real icicles, adding a festive touch to your display. Pathway lights create a welcoming atmosphere and add playful illumination to your yard. Solar-powered Christmas lights are becoming more popular, and they use energy-efficient methods to power them.
Supplies You Need For Hanging Christmas Lights:
Having the right tools and accessories, including lights, plastic clips, extension cords, and safety gear, ensures a smooth installation process. Proper preparation prevents accidents and ensures success.
Plastic Light Clips
Plastic light clips are suitable for various gutters and shingles and are ideal for hanging lights without damage. They are easy to attach and remove and offer a secure hold for light strands. Commercial-grade clips provide better stability, particularly in adverse weather conditions.
Extension Cords and Power Stakes
Extension cords are necessary for safely connecting holiday lights to outlets. A 50-foot length is recommended for outdoor use and should suffice for most setups. Power stakes distribute power to multiple light strands, ensuring an effective and safe power source setup.
Ladders and Safety Gear
A sturdy ladder is essential for safely reaching high areas. Rubber end caps protect your house from damage and prevent slipping. A Werner 10-inch stabilizer can enhance ladder stability and safety during installation. Consider using safety gear, such as harnesses, to improve safety. While this might seem a bit extreme, ladder safety is a must, and as you will see next, hanging just one Christmas light strand requires a safety plan!
Hanging Christmas Lights Safely

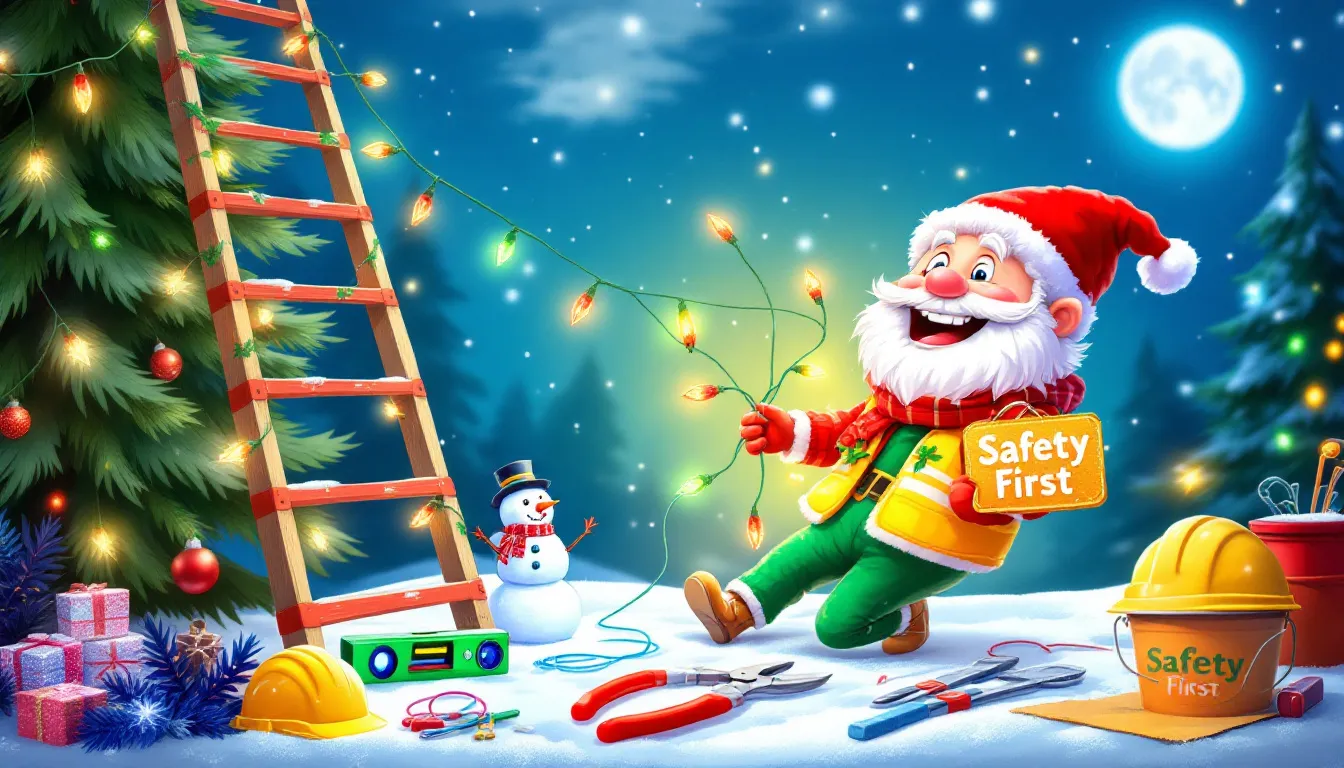
Safety is a priority when hanging Christmas lights. Harnesses, grounded outlets, and GFCI outlets can significantly reduce accident risks. However, the most common issue is ladder falls, which kill more than 300 people per year with another 500,000 injuries.
Ensuring proper ladder safety and safe electrical connections prevents electrical hazards that can hurt you or your loved ones.
Step 1: Test Your Lights
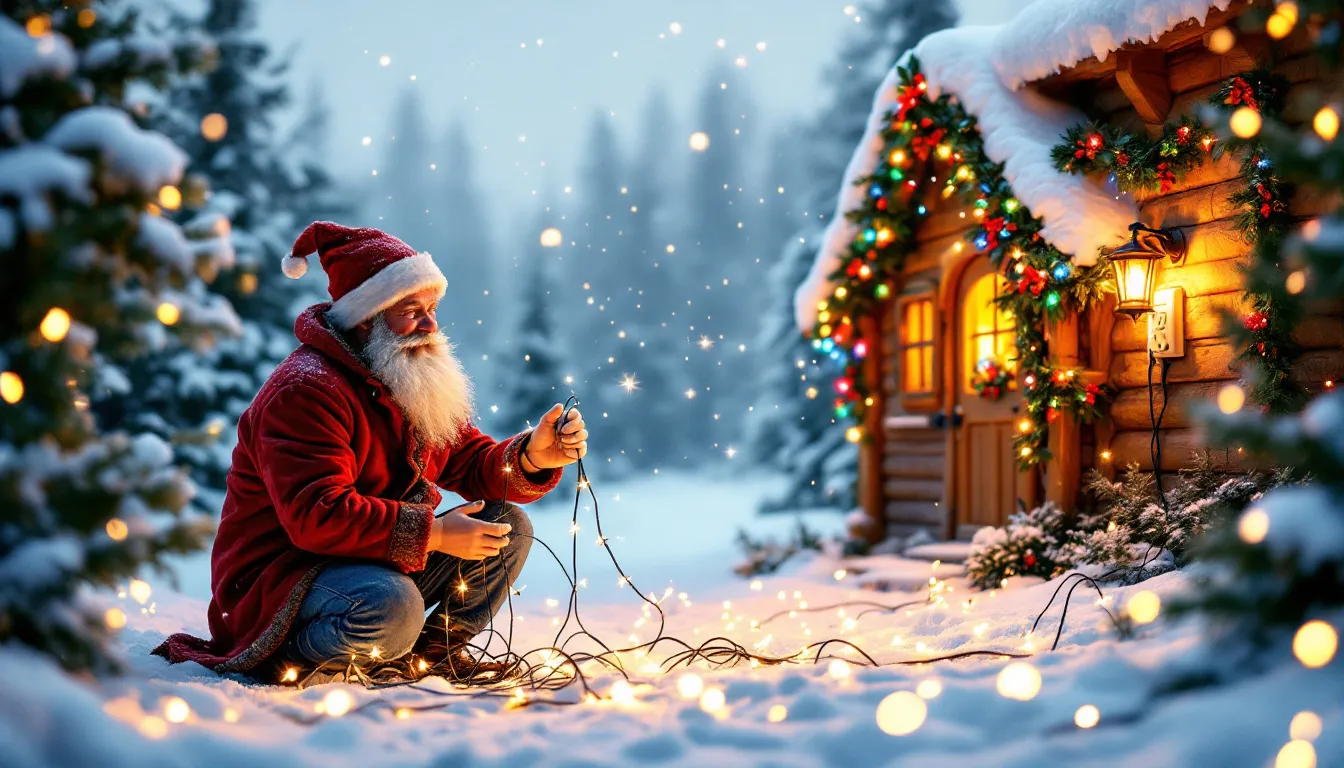
The first thing you always need to do is test your lights to ensure they are working. Sometimes, you can replace a bulb to fix lights, or you might need a new strand altogether. Be sure always to test your lights on the ground. Start by listing some forbidden forms of the keyword “hang lights” according to rule 5. Test your lights by plugging them in before you hang them. This helps identify faults early and ensures all strands are functional. To test your lights, shake the cords to check for flickering, indicating defective strands that need replacing.
Step 2: Practice Ladder Safety
You need to ensure you practice proper ladder safety before climbing and hanging lights. From inspecting your ladders condition to setting it up correctly, you want to be sure always to do the following:
- Place the ladder at the right angle and in the right place. Don’t place the ladder too far out or on unstable surfaces. Ladders always need to be level.
- Have a spotter to hold the ladder at all times, and never lean outside of the ladder rails
- Move the ladder every few feet – do not overstretch!
- Ascend and descend the ladder safely with your hands working simultaneously with your feet
Step 3: Securely Attach Light Clips
Once you have your plan and ladder, you can start to attach light clips. Space plastic light clips 12 to 16 inches apart to ensure lights stay in place. For columns, we recommend you use Command outdoor clear light clips every 16 to 24 inches. This spacing provides optimal support and prevents sagging.
Step 4: Use Zip Ties for Extra Security
Zip ties offer additional stability for light strands, especially in windy areas. They are helpful for securing lights to various surfaces, ensuring they remain in place during adverse weather. In Boise, strong winter storms and winds can damage lights, so fastening lights securely is important.
Decorating Tips for Different Areas

Don’t know where to start decorating the outside of your home for Christmas? Different areas require specific decorating techniques, for example, rooflines, eaves, windows, and doors, each of which benefits from unique lighting strategies.
Here are some tips that will give you some great ideas to decorate your home!
Rooflines and Eaves
String lights are our best bet around your roofline! C9 string lights are effective for outlining rooflines and eaves due to their visibility and brightness. These bulbs provide more light and create a classic holiday appearance, making your home stand out. You can’t go wrong with this timeless look!
Windows and Doors
Mini or fairy string lights are ideal for framing windows and doors. Positioning lights on the glass ensures visibility from outside, adding a welcoming touch to your decor. Garlands can also enhance the look around your doors and windows when you combine them with lighting!
Trees and Shrubs
The best lights for your trees and shrubs are net lights that cover them completely! Net lights are recommended for illuminating shrubs and bushes due to easy installation and even the illumination the provide. Simply drape them over the desired shrubs or hedges and plug in the cord. You can also use mini string lights to wrap around columns and railings for a visually appealing look.
Power Management

Effective power management ensures your holiday lights shine bright during the holiday season without causing electrical issues. Weather-resistant and outdoor lights-rated extension cords are crucial for safe connections. More and more homeowners use LED lights which are more sustainable, consuming 75% less energy and having a longer lifespan.
Use Grounded Outlets
Grounded outdoor outlets are essential for safely plugging in holiday lights. Ensure you have enough extension cords and power stakes for safe and effective power distribution. Be sure to spread the load across multiple circuits to prevent tripping breakers.
Install Timers
Pro lighting tip – use automated timers to control outdoor light displays! Timers will save energy and manage usage effectively. They allow for scheduled on and off times, ensuring consistent operation. You don’t have to worry about the hassle of turning your lights on and forgetting to turn them off!
Avoid Overloading Circuits
To prevent circuit overload, distribute Christmas lights across multiple outlets instead of a single source. This prevents tripping breakers and ensures your lights stay bright.
Key Takeaways
Are you feeling confident about those holiday and Christmas lights? Planning your display, choosing the right lights, gathering essential tools, ensuring safety, and managing power are all crucial steps for a successful holiday lighting setup.
- Thoroughly plan your outdoor lighting by inspecting your home, taking photos, and measuring key areas for practical design.
- Choose the correct type of lights, such as LED for efficiency or C9 for rooflines, to enhance your holiday display.
- Prioritize safety by using proper tools, securely attaching lights, and managing power effectively to prevent electrical hazards.
If you don’t feel like hanging Christmas lights, some homeowners are turning to Christmas light installation teams to help them. From seasonal rights to even permanent holiday lighting, you can look to work with a company that specializes in Christmas light hanging. In Boise, Silver Bells Lighting by Design is your best bet if you choose to go this route!
Either way, by following these tips, you can create a stunning and safe Christmas light display that will bring joy to your home and neighborhood. Happy decorating!
Frequently Asked Questions
Below you will find some frequently asked questions about holiday lighting outdoors!
1. What are the benefits of using LED lights over incandescent bulbs?
Switching to LED lights can save you money on energy bills and reduce heat output while also lasting much longer than traditional incandescent bulbs. It’s a smart move for both your wallet and the environment!
2. How can I ensure my lights stay in place during adverse weather?
Use plastic light clips and zip ties to keep your lights secure in bad weather, especially if you’re in a windy area. This way, you won’t have to worry about them blowing away!
3. What type of lights are best for rooflines and eaves?
C9 string lights are your best bet for rooflines and eaves since they’re bright and obvious, making your home stand out beautifully.
4. How can I manage power effectively to avoid circuit overload?
To avoid circuit overload, spread out your devices across multiple outlets and always use grounded outlets for safety. This way, you’ll keep everything running smoothly without tripping any breakers!
5. Why is it important to take a photo of my house before hanging Christmas lights?
It’s important to take a photo of your house before hanging Christmas lights. This helps you visualize and plan your lighting design more effectively, ensuring a more cohesive and festive look!


 What to Know About Asphalt Shingle Roofing Materials (Guide)